
Underglow Gen 1 Installation
Learn the steps to properly install our underglow kit.
View our installation video here
You will need:
- Our Underglow Kit
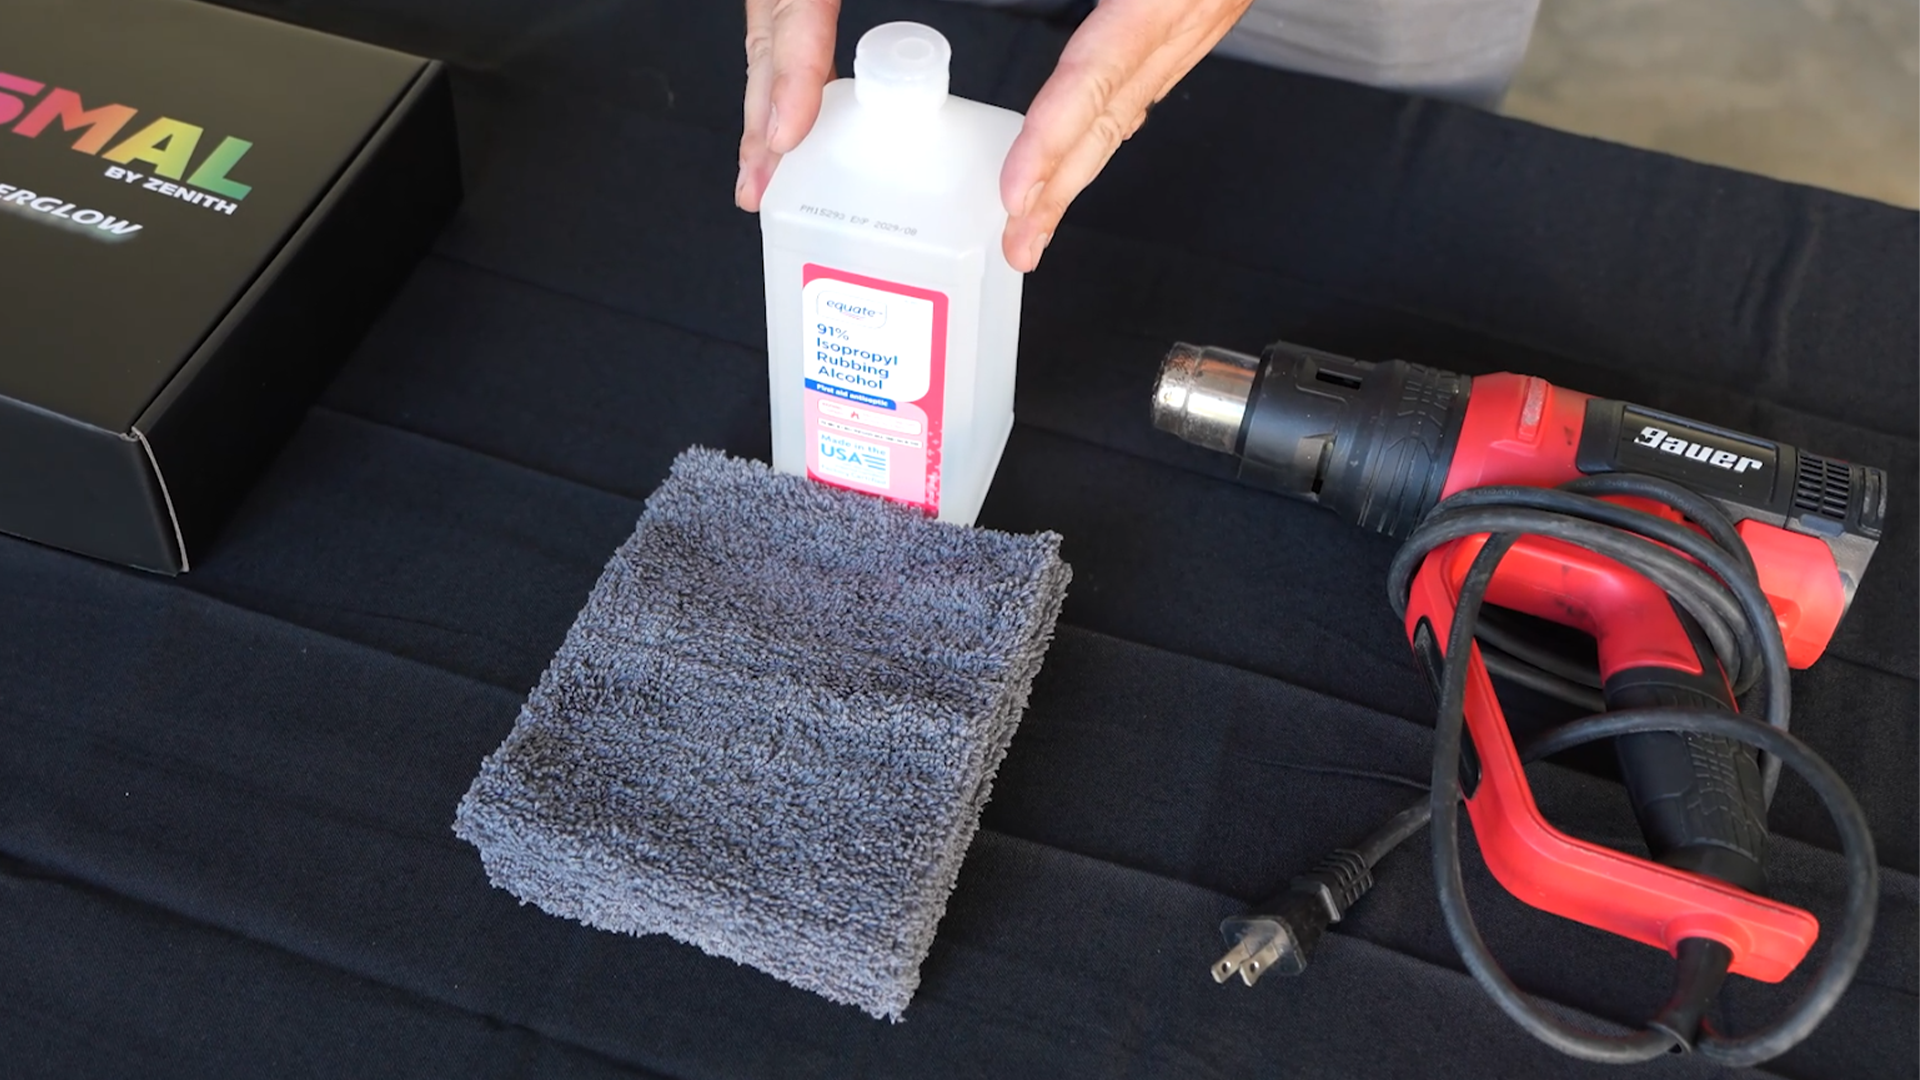
- 2000W Heat Gun
- 91% isopropyl alcohol (for cleaning surface)
- 2-3 microfiber cloths
- An iOS or Android capable device.
Warnings:
We highly recommend your kit be installed by a professional.
The installation process involves a high temp heat gun. Please take precaution and use the proper safety equipment when working with high temperature environments.
- Failure to follow proper installation may result in the limited warranty being voided.
Getting started
The underglow kit contains the following items:
- 2x front strips
- 2x side strips
- 2x rear strips
- (optional) 0-4x extension strips
- PFX LED controller
- 50x 4" zip-ties
- 25x zip-tie tie-down squares
- 5x 2m 3-pin LED extension cables (can be 4 if your kit comes with a hard wired cable on the controller)
- 1x 12v power harness with 2 wireless on/off controllers
- 1x LED Y adapter cable
- Literature pack (warranty info, getting started, thank you card, ...)
Before installing your kit, unpack all components and test each LED strip using the controller and a 12V power source (such as your vehicle's battery). This ensures all components are working correctly before installation. Refer to the diagram below for the proper strip connections (click to enlarge).
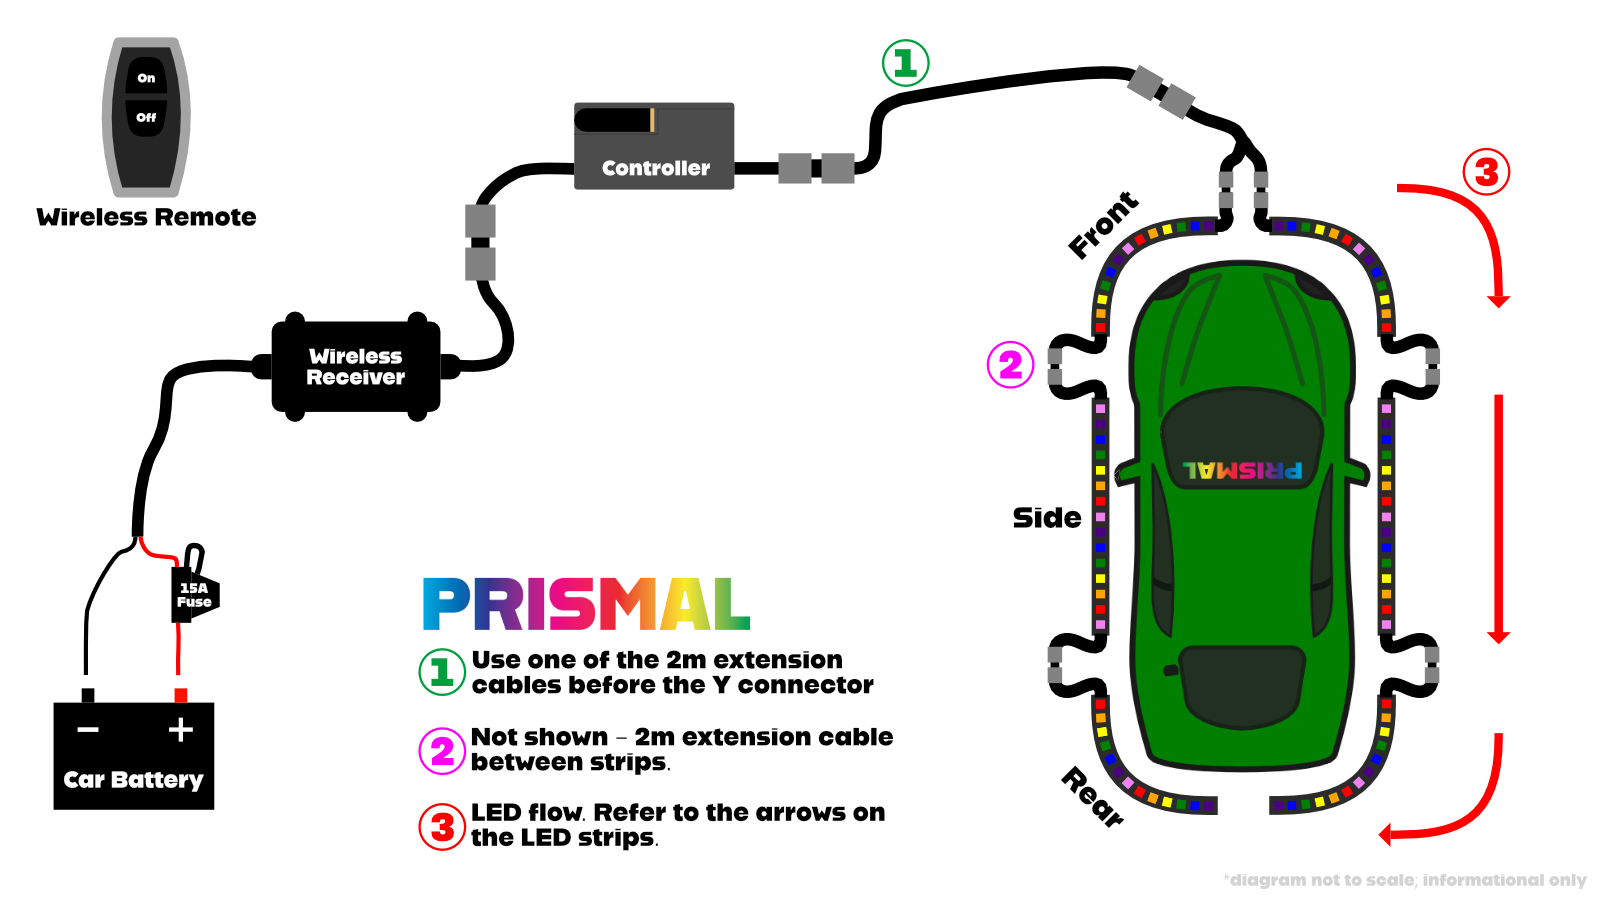
If you encounter an issues with strips, let us know at support@gozenith.co.**Item labeled (1) may be hard wired and will not need to be connected to the controller.
Preparing your car
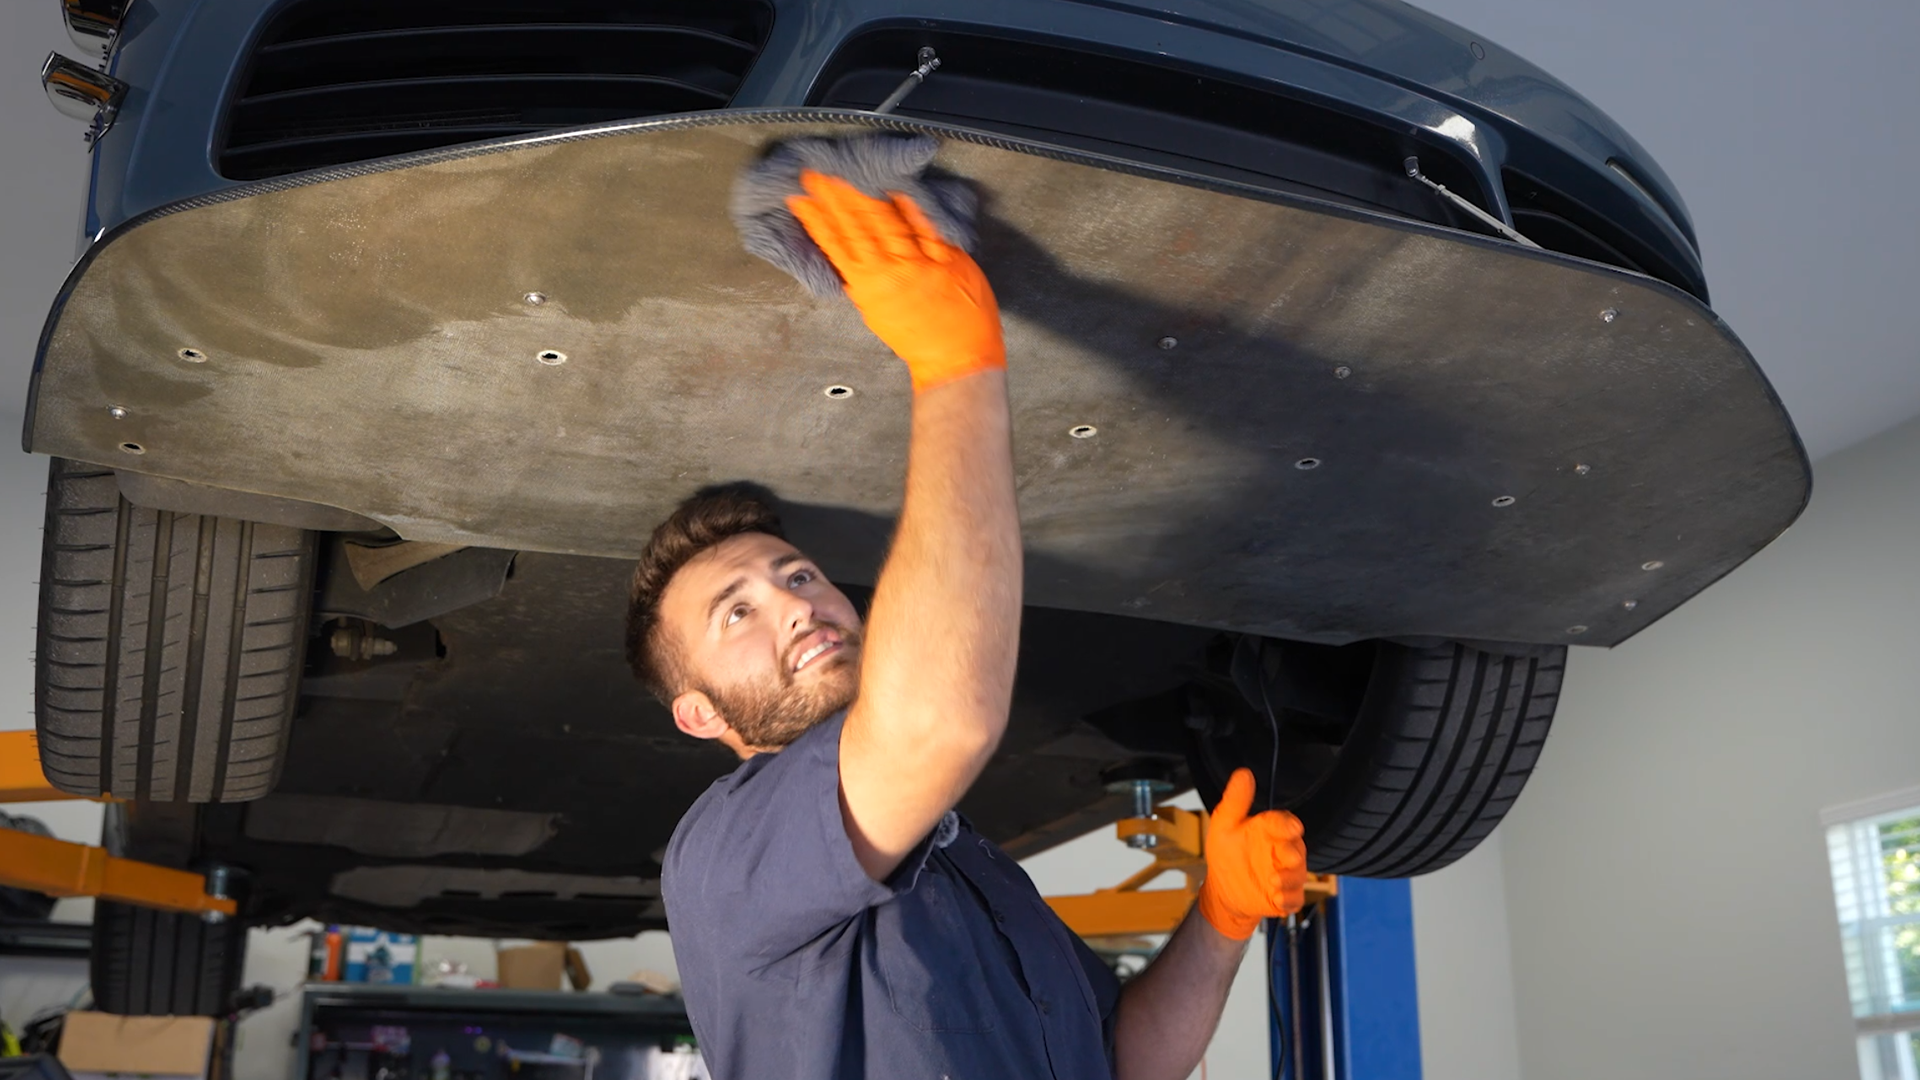
To properly prepare the mounting surface please dab some isopropyl alcohol onto a microfiber cloth and clean the mounting surface under your vehicle. Wait for the surface to dry before attempting to mount LED strips.
NOTE: For best adhesion mount to smooth surfaces like plastic or smooth metal. Rubber or uneven surfaces may result in improper adhesion; the LED strip may come loose or peel off.
Install Power Harness & Wireless Receiver
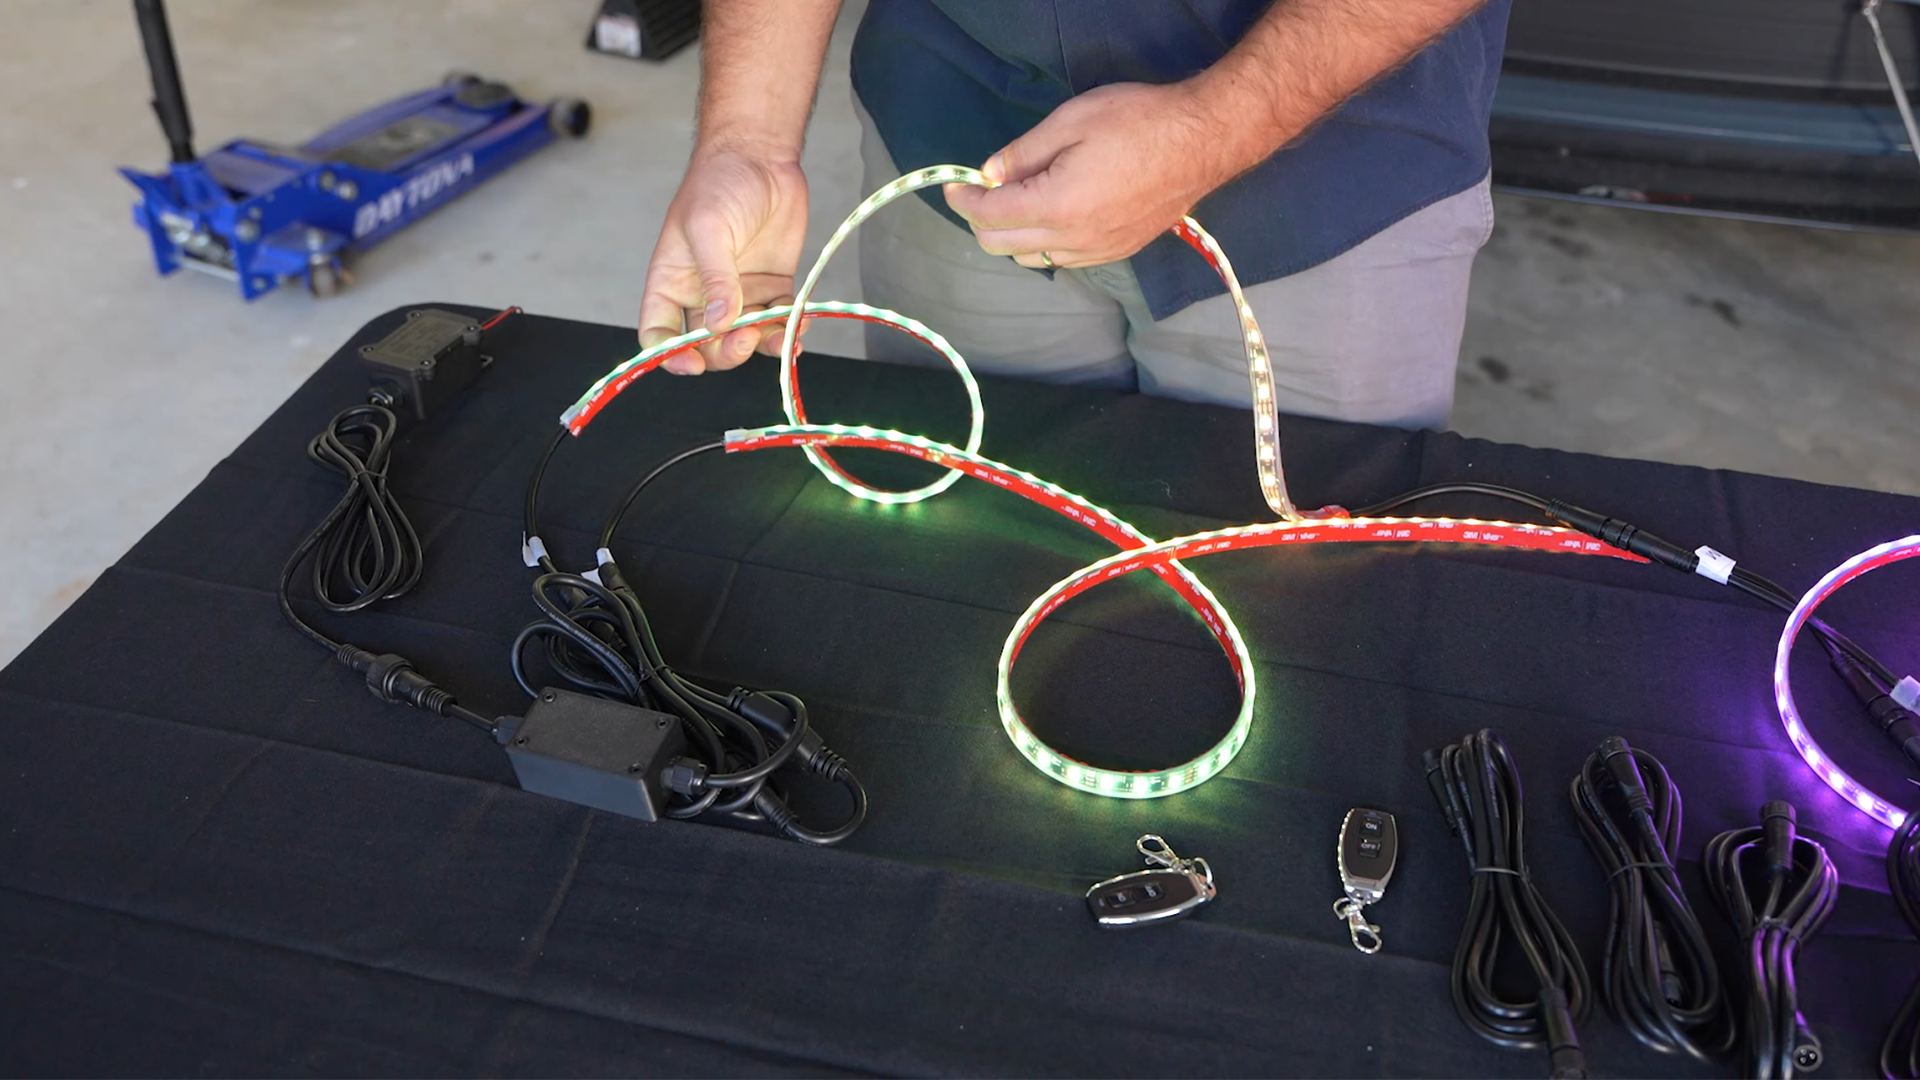
Using the supplied power harness, LED controller, and one 2m extension cable, lay out each component to determine the optimal routing for the cables and the best mounting location for the controller.
The Y cable is the beginning of the LED strip cables. It should be placed in the center front of the car. For a visual refer to the wiring diagram.
We designed the kit so you don't have to wire through the firewall. Your kill-switch is the wireless remote(s) provided with the kit!
Install LED Strips
After you prepare the mounting surface layout the strips where they will be secured on your vehicle. Do not attach them just yet; make sure you have them oriented correctly and the LED flow is correct (refer to the wiring diagram for more details).
Once you have verified orientation and placement, begin at the front of the car. Here you will install one side at a time:
NOTE: Before continuing please understand the importance and usage of pre/post heating the led strips when mounting. Use the Heat gun on its low setting 6-8" away from the surface when directed below for 10-12 seconds.
- Peel back 4-6" of the 3M VHB Tape release liner at the beginning of the strip. Use the heat gun warm the mounting surface! Slowly apply heavy pressure to adhere the strip to the mounting surface. Remove the release liner as you move along the strip - mounting it along the way.
NOTE: Leave the release liner on the led strip 3M VHB Tape until you are actively mounting it. This will prevent debris and pre-mature mounting issues. - [If installing a front or side strip:] Once reaching the end of the strip use one of the supplied 2m LED extension cables and route this behind the wheel liner to reach the next strip area (side, or rear).
IMPORTANT!: Apply post heat with the heat gun. Use the heat gun on its low setting 6-8 inches away from the strip for 10-12 seconds.
With the proper safety equipment or heat resistant roller apply pressure to the strip where heated for 20-25 seconds. Caution: the strip may be hot and cause burns if directly touched.
Interact and Customize!
Now that you've installed your kit it's time to interact with it!
Download our app on either the Apple App Store or the Google Play Store:


Visit one of our other guides to get started: